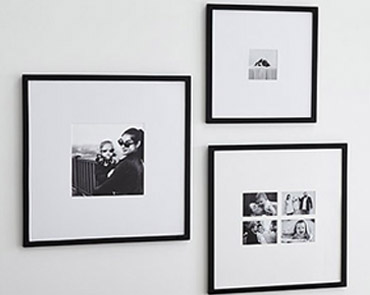
Creating a gallery wall is an excellent way to showcase your favourite memories, artwork, and personal style. Acrylic photo panels are the perfect choice for a unique and modern display, offering a modern twist on traditional framing. With their sleek, frameless design and vibrant, high-definition image quality, acrylic panels can transform any wall into a stunning visual display. In this guide, we’ll walk you through the steps to create a captivating gallery wall using acrylic photo panels, from planning your layout to the final installation!
Why Choose Acrylic Photo Panels?
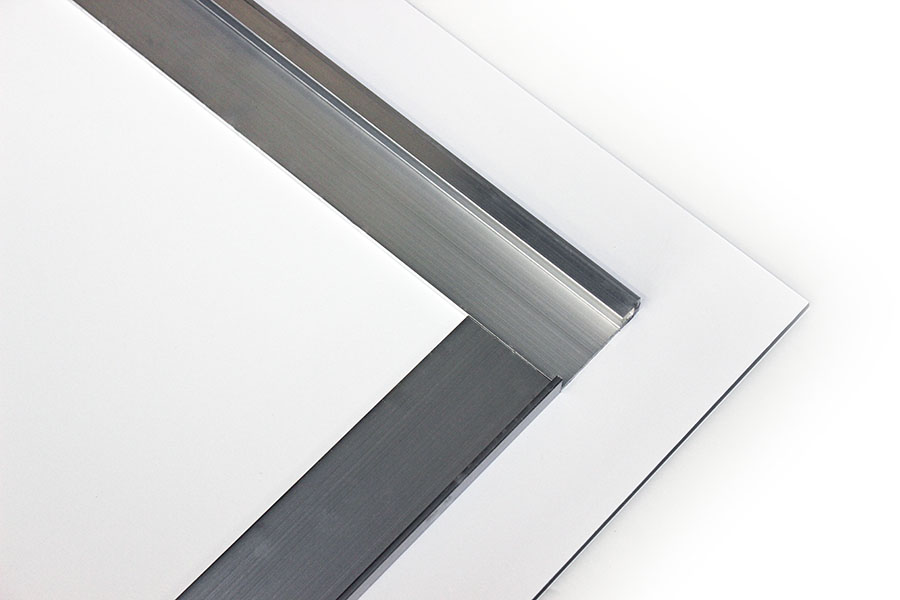
Before diving into the process, it’s worth noting the benefits of using acrylic photo panels. These panels are made by printing your photos onto high-quality photo paper, which is then mounted on a clear, glossy acrylic sheet. This process enhances the depth and clarity of the images, giving them a professional and polished look. Additionally, acrylic is lightweight yet durable, and less prone to breakage compared to traditional glass, making it an ideal choice for a long-lasting gallery wall. !
!
Designing Your Acrylic Photo Panel Gallery Wall
1. Planning Your Gallery Wall
One of the key benefits of acrylic photo panels is the ability to create a cohesive and harmonious display. By selecting frames of the same size, you can easily arrange and rearrange your photos and artwork to suit your space and style. For visual interest you can also mix and match different sizes such as large acrylic panels for focal points. It’s important to determine the dimensions of the wall area you’ll be using. This will help you understand how much space you have and the size of the acrylic panels you’ll need.2. Select Your Photos for Your Acrylic Photo Panels
Select a mix of your favourite images. Consider a theme or colour scheme that ties the photos together, such as family portraits, travel photos, or black-and-white art prints. Before making a start on your wall, lay your photos out beforehand. Arrange and rearrange them until you find a composition that you love.!3. Install Your Acrylic Photo Panels
Start with the largest panels first, especially if they serve as focal points. Attach the panels to the wall using acrylic mounting hardware. Use a level to ensure each panel is straight. Once all panels are hung, step back and assess the overall look. Make any necessary adjustments to ensure the spacing and alignment are perfect.
Start Your Acrylic Photo Panel Gallery Wall with Just Picture Framing
Creating a gallery wall with acrylic photo panels is a stylish and modern way to display your favourite photos and artwork. The sleek, frameless design of acrylic panels allows your images to take centre stage, providing a clean and contemporary look that enhances any space. By carefully planning your layout, selecting the right sizes, and installing your panels with precision, you can transform any wall into a captivating gallery that reflects your personal style and creativity. At Just Picture Framing we specialise in photo panels that offer a sleek and minimalistic way to display your images. Whether you’re in Sydney, Melbourne, Perth or other locations across Australia, we make decorating your interior easier than ever.!Please get in touch with us today to find out more about our acrylic photo panels.


